
After several weeks of harassment, I finally gave in to the threat and I baked this carrot cake with vanilla mascarpone icing. I absolutely love how light this cake is and I always love a bit of citrus with carrot cake. Though I often go with orange when baking carrot cake, I happened to have some lemons at home and it worked just as delicious, if not more I say. I have tried it with limes too and it's really good.
Instead of the usual super sweet cream cheese frosting, I opted for mascarpone and vanilla seed icing which is utterly delicious. And because mascarpone cheese is less tangy than cream cheese, it doesn't need as much sugar which is always good. But do as you please, obviously.
The blackmailer was well happy and satisfied and now demanded a pecan pie... *sigh...
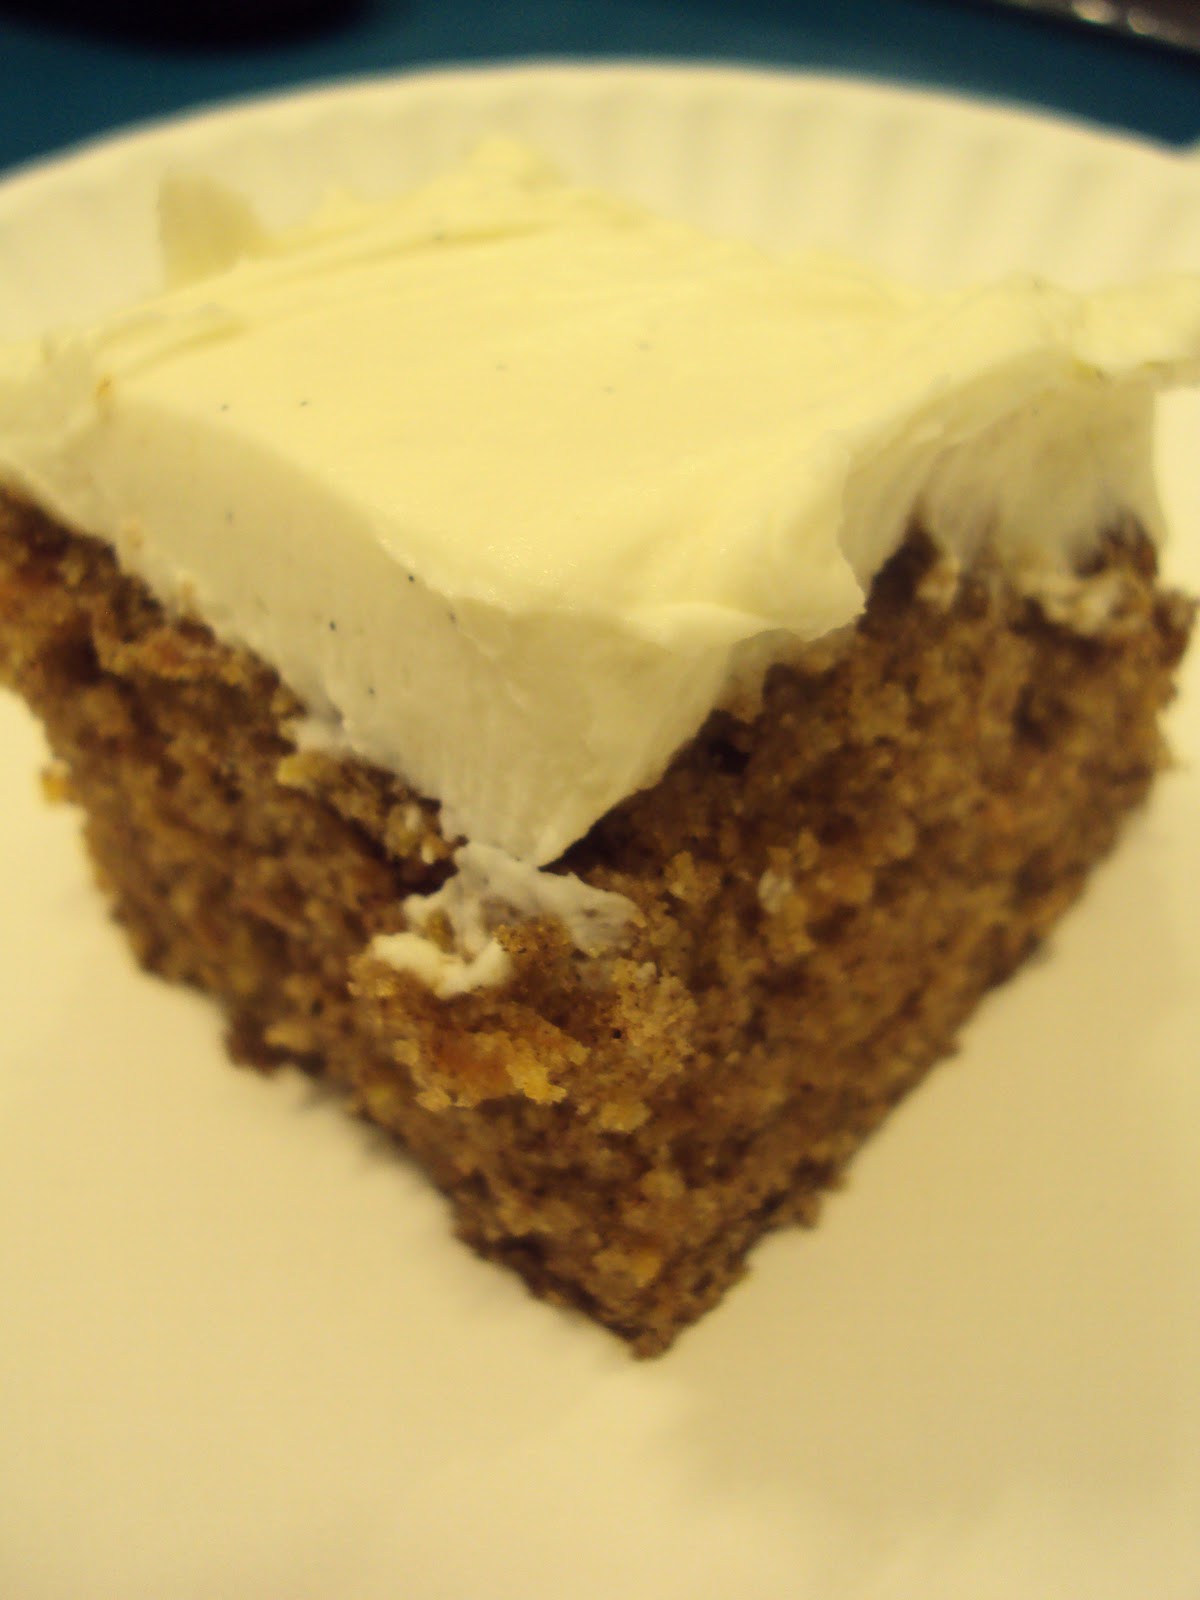
Carrot Cake with Vanilla Mascarpone Icing
Recipe by Me
Makes 16 slices
For the cake
175 gr golden caster sugar
150 ml olive oil (the regular stuff, not extra virgin)
2 eggs
zest of 1 lemon
1 teaspoon vanilla extract
200 gr coarsely grated carrots
200 gr self-raising flour
1 tablespoon mixed spice
1 teaspoon bicarbonate of soda
For the icing
250 gr mascarpone
250 ml double cream
1 teaspoon vanilla bean paste, or use the seed from 1 vanilla pod
3 tablespoons icing sugar
Preheat the oven to 180 C and lightly grease and line the base of a 23 cm square tin with baking parchment.
In a bowl, whisk the sugar, eggs, oil, vanilla and lemon zest until smooth. Add the grated carrots and mix well. Sift the dry ingredients over the bowl and stir together gently. Pour the cake mixture to the tin and spread evenly and then bake in the oven for 30-35 minutes until nicely risen, golden and springy to the touch. Remove the cake from the tin and cool on a wire rack.
Make the icing by mixing all the ingredients in a bowl with an electric mixer until light and fluffy. Make sure the cake has cooled completely before you begin to ice. Roughly ice the cooled cake, nothing too smooth and cut into slices as you desire.


